PENDULUM READING QUICK START GUIDE, PT 5
NOTE: If you haven't read Parts 1-4- please go do that first before proceeding!
PART 5: Making a Spirit Board on the Fly
So, did you try out the practice reading from the last post? How'd it go? Ready to move beyond yes/no readings? If not, no worries! This is a 100% no-pressure guide and it will be here, whenever you need to check back on it's information. :)
The last post covered reading basics and had a test reading for you to try out. The questions were looking for yes/no answers to keep things simple. However, if you wanted to ask open-ended questions with a pendulum, you absolutely can - with a spirit board!
Spirit boards make great partners with pendulums (you would just your pendulum in place of the planchette that normally pairs with the board). I know spirit boards can be intimidating for some folks - especially since pop culture likes to depict them in horror movies, as a mechanism for summoning whatever "big bad" that the writers have cooked up.
But those aren't the spirit boards that *I* know and love. Spirit boards (or talking boards, as they were more commonly called) became popular during the Victorian era, with the rise of Spiritualism. Mediums would use planchettes with pencils in a form of automatic writing. To smooth out the process and make for easier-to-read messages, boards were created with the alphabet drawn or printed on them. Those boards eventually paved way for the famous "Ouiji" board in 1890 (though there were several different manufacturers of spirit/talking boards throughout the era).
If you'd like to learn a bit more about the history of these boards, I highly recommend you check out the Museum of Talking Boards' website - they have an amazing article on the history of talking boards HERE.
While Hollywood may have hijacked the spirit/talking board for its own purposes, many folks still use these boards for their original purpose today - to obtain messages from spirits and other astral beings. These boards are like any other tool - when used appropriately, they be a wonderful help.
So, what does one do if they would like to start using a spirit board, but can't get a hold of one? Just make one! :)
The board you use with your pendulum doesn't have to be fancy or even an actual board. I have several different types of spirit boards at home - from painted pieces of wood, to etched blocks, to collaged paper boards. However, all one really needs is a sheet of paper and something to write with (I've even used a crayon - YES, an actual crayon).
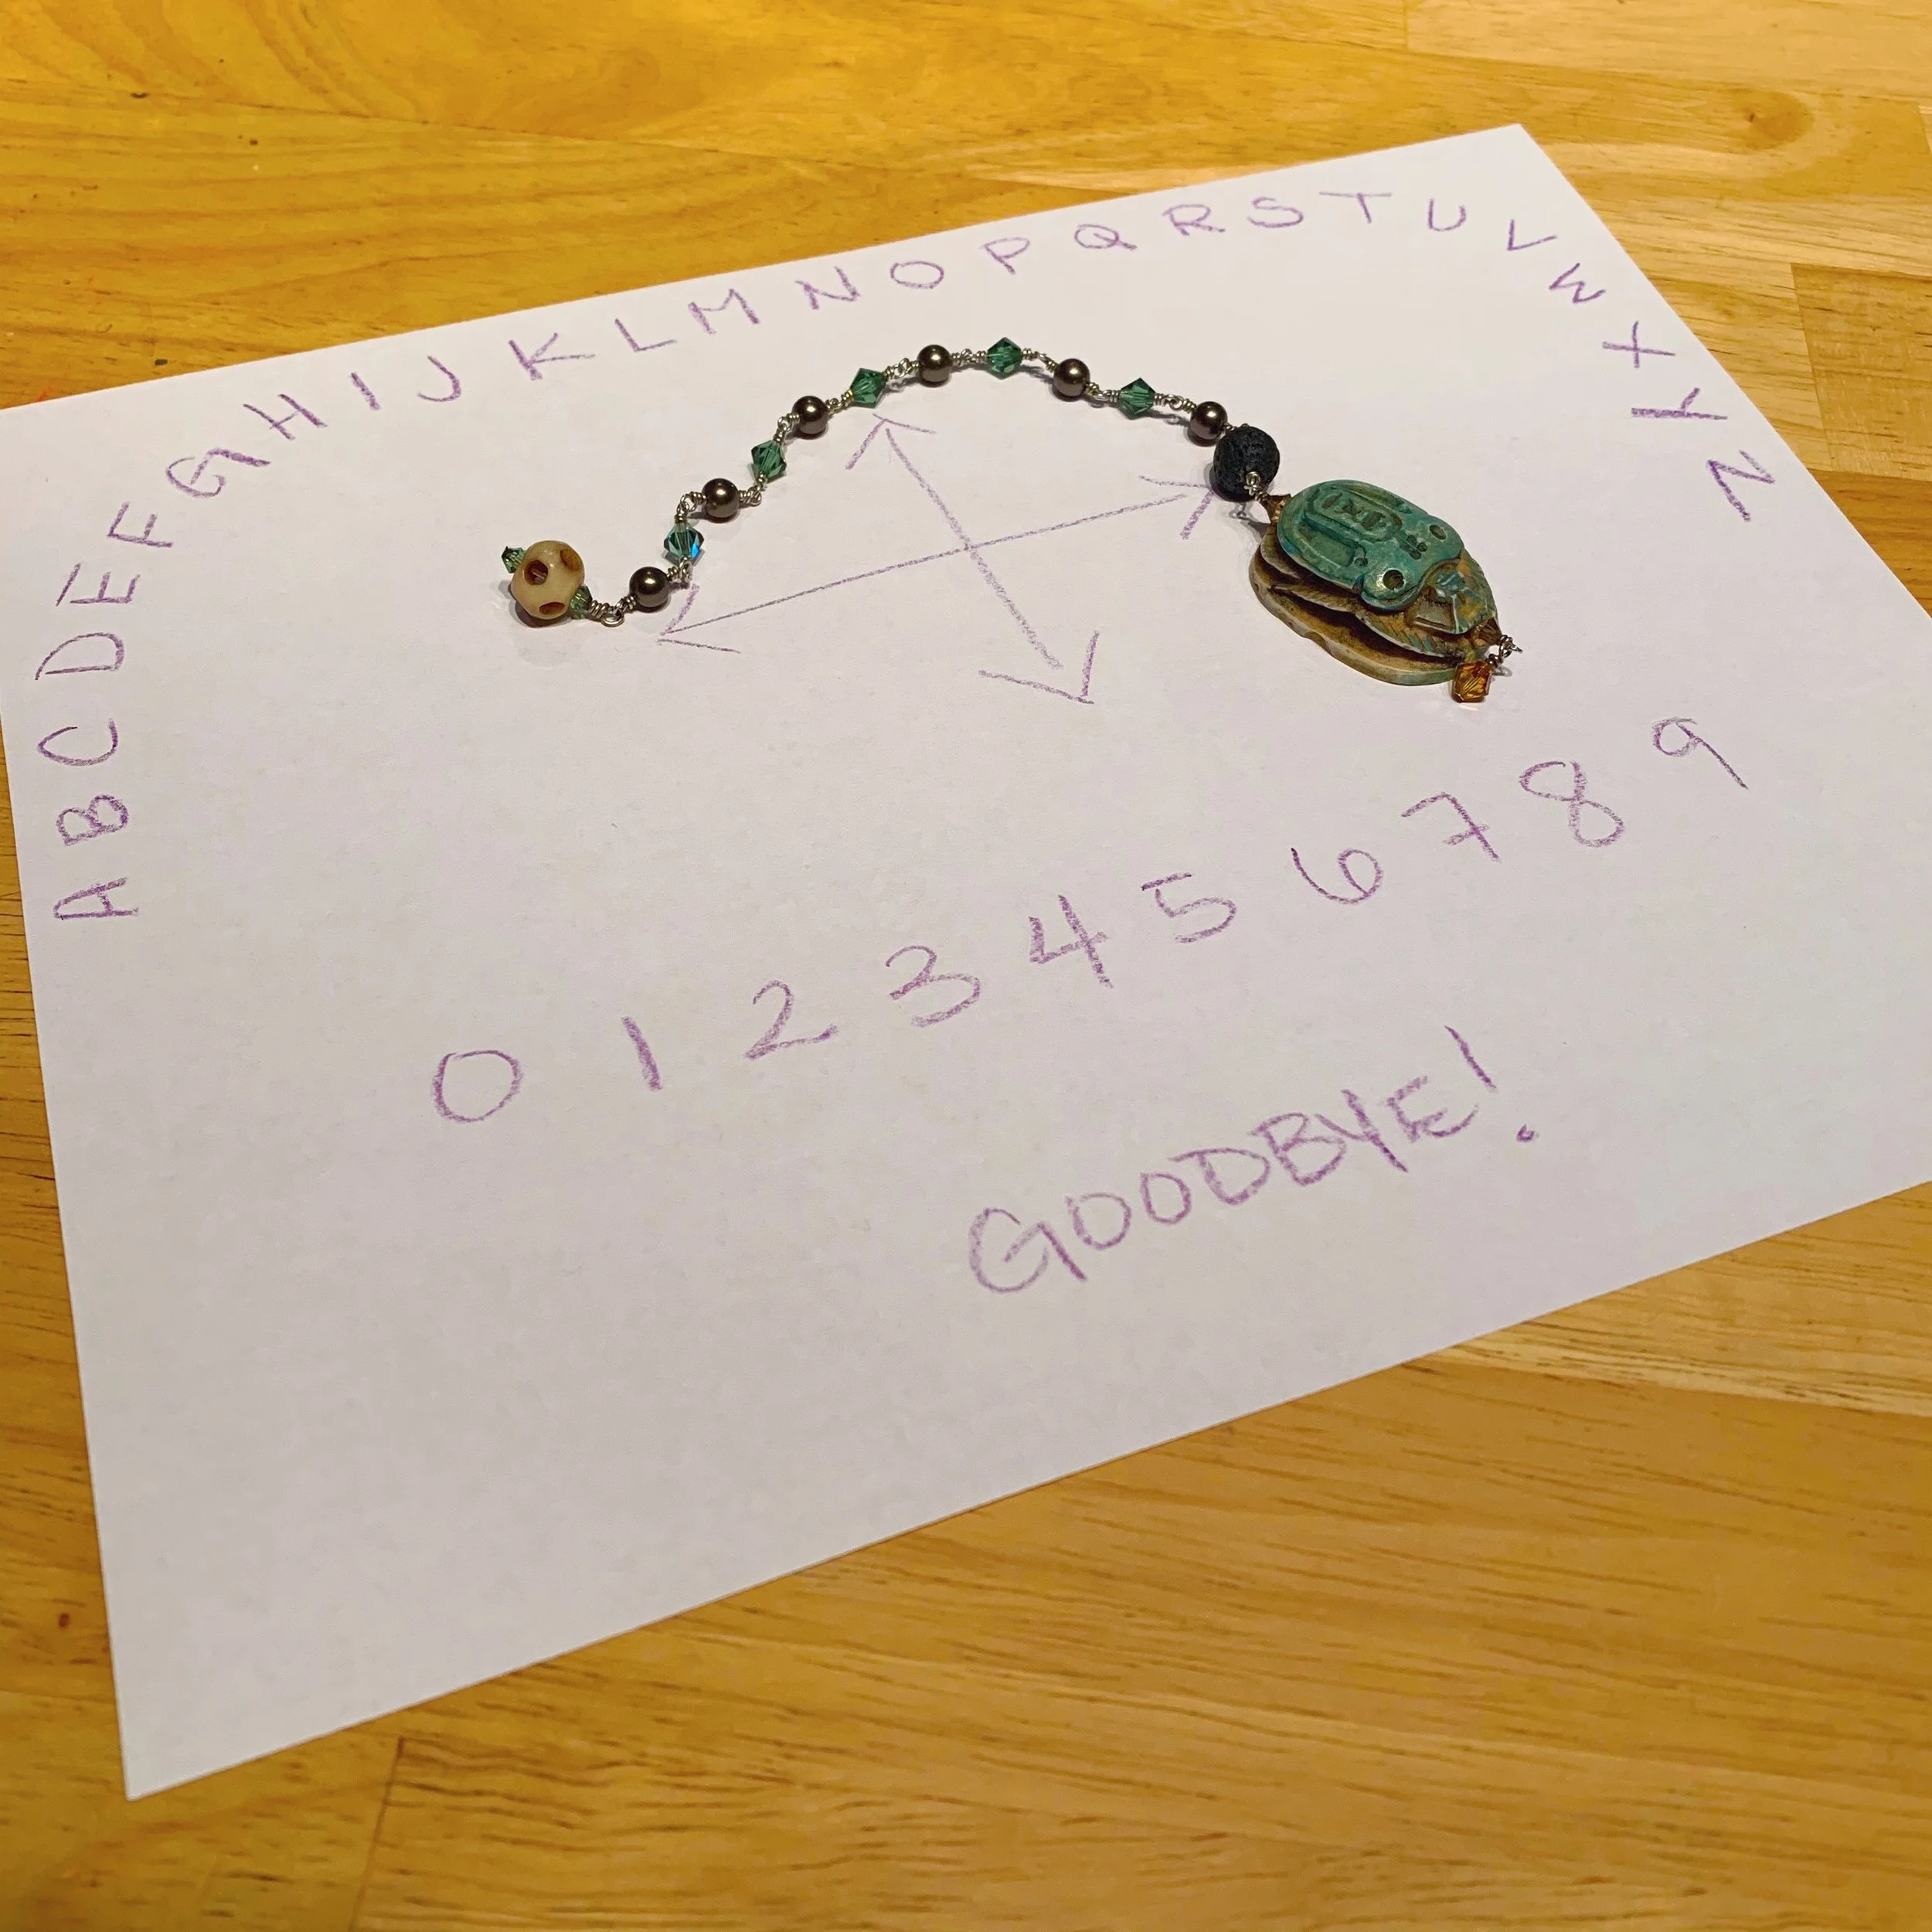
First, grab the materials you'd like to use and lay out your paper. Draw whatever alphabet you'd like to use and any numbers you think you'll need (I tend to stick with 0 through 9). You can then add any phrases you'd like - traditional phrases on these boards are "Hello" and "Goodbye". If you can't think of any phrases you'd like to use or need, don't feel obligated to add them.
Once you're finished with your board (feel free to color it in, or add a bit of decoration!), it's time to set your intention for the board. Placing your hands on your newly created spirit board, state your intention to use the board to connect with your pendulum for the receipt of messages from your guides/spirits/deities (if you don't have any specific group in mind, you can also ask for messages from your Higher Self).
With your intention stated, your board and pendulum are now ready for action! Below is a board I made recently.
Stay tuned for part 6 (our final installment!) - where we'll cover how to build a regular reading practice.
Brightest Blessings,
-Cory